Petestack Blog

22 August 2017

Constructing again!

Filed under: Sailing — admin @ 7:17 pm

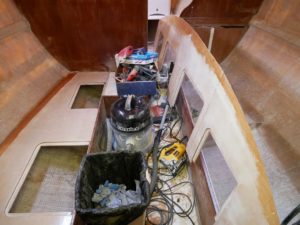
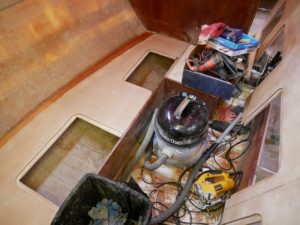
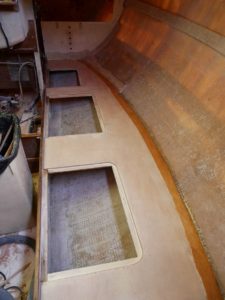
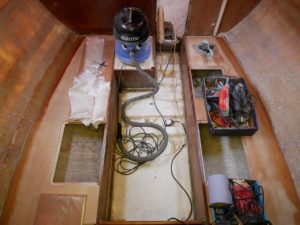
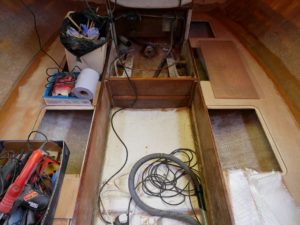
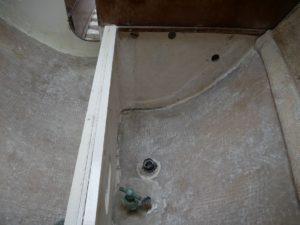
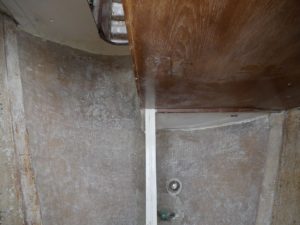
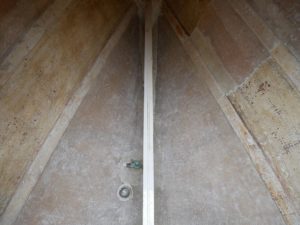
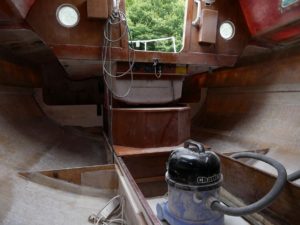
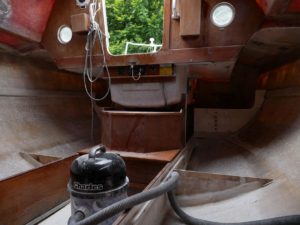
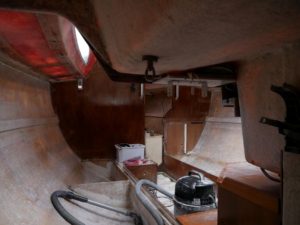
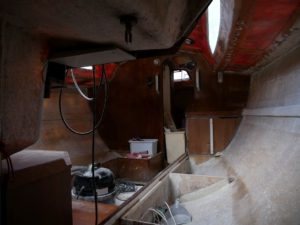
So Twig’s been here yesterday and today, and Fly’s starting to go back together at last! Yesterday’s main job was to fit the new port bunk top, but not yet to glass it all in…

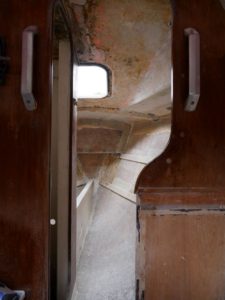
And today’s was to fit the starboard one and make a start on glassing in the port one, which you see here fully bonded on top but not yet underneath, though he did get the forward face of one of the damaged supporting mini-bulkheads (invisible here) rebuilt…

So next steps will be to finish the bonding and mini-bulkhead repairs from below, though it looks likely that I’ll be attacking the forecabin again before Twig’s back to do that. On which note, we did look again at both bow well (where the damaged wood’s now dried out enough to suggest that rebuilding from the inside may yet be possible) and water tank (where we’ve concluded that my first design fits fine even if taking my dimensions as exterior and allowing for 8–10mm polyethylene panels all round reduces its volume from 54.05 litres to a still-acceptable 46.32). So I’ve now to get the quotes for construction from the two places we know to do this kind of work and we’ll take it from there, but it’s been a happy Monday/Tuesday because (apart from 2016’s new windows and 2011’s forehatch) we’re now rebuilding for the first time since all the damage was done! :-)

18 August 2017

Good tarps and bad tarps

Filed under: Sailing — admin @ 8:41 pm

Tarps on boats typically cause as many problems as they solve. They obstruct access, rattle in the wind, risk rubbing the boat if in contact with (or lashed to) the hull, and don’t shed snow unless carefully framed to do so. So while Fly was necessarily under full tarp cover for a while, I didn’t really like the arrangement… and hated it when those Alkathene hoops buckled under the snow they couldn’t shed and loaded up the tarp over squashed tarp frame!

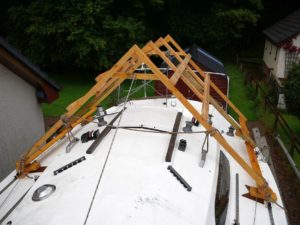
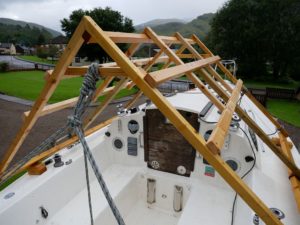
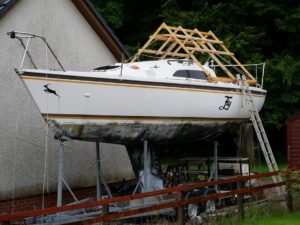
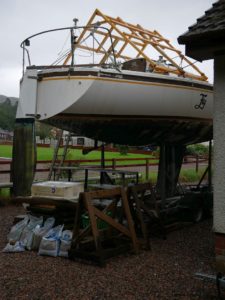
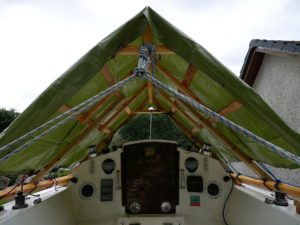
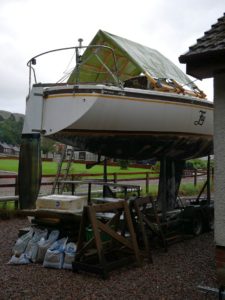
So I don’t normally like tarps on boats, but what I built this week is good (to allow work with the main hatch open any day and shed snow if I leave it up). Started Monday evening and finished tonight in equally gash, midgey conditions…

Now you can see it’s not your average tarp set-up at all… more a proper little roof for which I’d actually considered using proper little roofing but just happened to finish with a tarp instead. It’s strongly built (starting with the A-frames in my workshop, then everything else screwed together in-situ), steeply pitched (45°), and the tarp’s securely lashed to frame, not boat, with a ‘door’ at the top of the ladder easily opened and secured by a couple of half hitches in a dedicated short length of rope.

So what more could you want in the ‘good tarp’ world except perhaps an equivalent, smaller shelter to help with the bow well job? And, while we could move this one at some stage and support it up there somehow, I think I’d prefer to leave it where it is through the winter and build another to fit… and you know I’ve still got some wood from a false start on Monday when I guestimated and cut the A-frame pieces for this one too short? ;-)

12 August 2017

Forecabin fun

Filed under: Sailing — admin @ 8:46 pm

With work (yes, the ‘day job’!) looming on Monday and no chance of a fifth week full-time on Fly, I’m not going to get the forecabin fully stripped this holidays, but it’s getting there…

Interesting to compare the bow well to a week ago. While the rot’s dried out a lot with the removal of the old linings previously hiding it and preventing it doing so, the way it tracks along the corners above the stringers has me once more suspecting external (rather than internal) causes and guessing we’ll probably have to cut out most of the floor after all to repair it properly. Another interesting observation visible in the ‘bow’ photos is the clearly original nature of the paint up the topsides, where the overlap of hull-to-deck join and paint in places can leave no doubt that the hull was painted internally up to a certain level before the deck was bonded on. Not that it makes any difference now, with said paint flaking over much of its area and mostly coming off along with (or at least quite easily with) the glue, which must come off to get good surfaces to stick the new linings to. And the white paint (of unknown origin) below bunk level likewise all needed to come off in preparation for a more durable solution having been the flaking bane of my life over several sailing seasons.

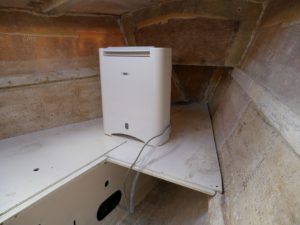
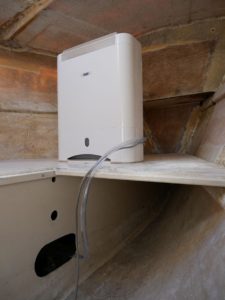
While taking a ‘break’ from paint stripping today to sort other stuff and not kick up any more dust before Twig’s here to start fixing things, I put the dehumidifier back on board in search of optimum conditions for epoxy work in this currently not-so-dusty space. I’d thought of doing this last Tuesday when Twig was here, but left it because it needed a new piece of hose, we were busy and I’d wrongly remembered needing to soften the hose end with hot water, whereas that turned out to be an easy push fit today with the heat only necessary to fit the slightly narrower hose I’d had it on it before. And I really couldn’t have left it on board anyway with the dust I’ve been kicking up meantime!

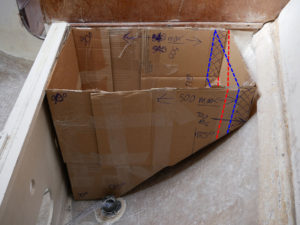
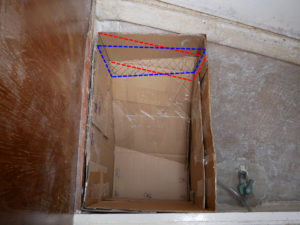
But today’s real fun job (1000% more pleasant than stripping paint!) was testing shape(s) for a custom water tank. This has always been problematic with Impala Class Rules stipulating ‘Water tanks of a minimum 10 gallon capacity shall be carried forward of the aft keel bolt’ (on which note I have some hazy memory of this possibly previously having been ‘forward of the main bulkhead’?) and the only other obvious compliant space (below the galley) being a poor, narrow shape with difficult access. So we used to carry two five-gallon plastic jerrycans strapped in where I’m looking at putting a tank now (well, one either side of the longitudinal bulkhead), but I never liked that arrangement… except that proper tanks to fit are rarer than hens’ teeth! Hence some experimentation with a view to commissioning a custom tank, and it’s looking doable…

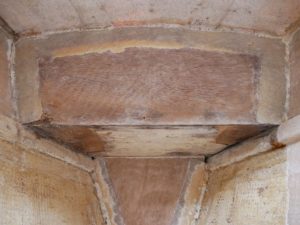
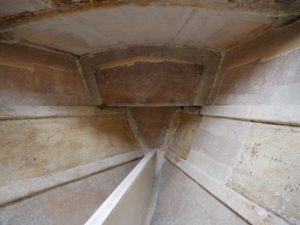
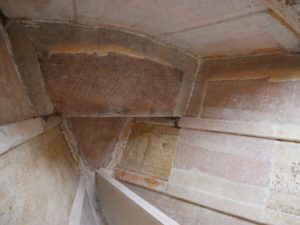
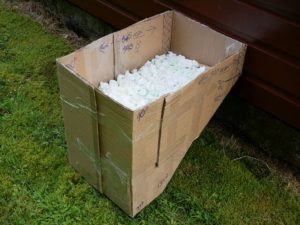
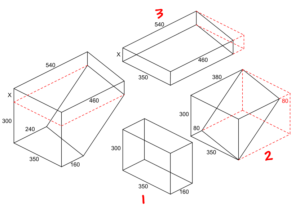
Now it can’t/won’t be as tall as you see here, but the bits of box I started with just coincidentally filled the space to the bunk top. Trying to keep the shape as simple as possible and need flat surfaces for manufacture, but don’t know which is better… blue dashes (cuboid with corner sliced off at a constant angle) or red (making the top the same shape as the base so neither are rectangular). Also struggling to work out capacity because I’m confuzzled by the maths, but looking for min. 45.46 litres (i.e. 10 Imperial gallons) and happy to go to 50 or 60 if I can get it, with third photo showing two 25-litre bins of polystyrene packaging tipped there by my mathematically-challenged brain. And perhaps I do like the red-dashed shape better though I’m envisaging reducing the top part of either (above dash level/polystyrene filling) by about half the height you see. Whatever, it’s a reasonable place for a tank, being low down in the boat and not too far forward of the keel, with 50–60kg down there not a huge deal when you also have the option of not filling it for the racing with the presence of the tank(s) rather than the water being what’s required!

Edit (13 August): What a complete dummy I am! The volume of the bottom part (red version above) is 1. 350 x 300 x 160 = 16.6 litres + 2. (350 x 300 x 380) / 2 = 19.95 litres, which makes 36.55 litres. Add 3. 350 x 500 x 100 (assuming X-height of 100 where the mock-up is 190) = 17.5 litres, and you get 54.05 litres, which is fine (NB my ‘25-litre’ bin above turned out to be somewhat short of the mark in taking just four-and-a-half 5-litre buckets of water). But you don’t want to know how long that’s taken me to figure out! :-/

8 August 2017

Destruction for construction

Filed under: Sailing — admin @ 9:18 pm

So we arrive at a major turning point for Fly, or what would be the turning point but for the late discovery of rot in the bow well. In a nutshell, the long-awaited last of the destruction (bar some new bow well preparation, which should be a much smaller job) before we start constructing again! So Twig was here today and, after going over the whole boat from stem to stern to look at what I’d got done and any new issues raised, we cut out what we’d left of the old bunk tops, and all’s set for him to get repairing the mini-bulkheads, glassing in the new bunk tops and starting to flow-coat the paint-stripped area when I go back to work (meaning that ‘day job’ thing rather than more boat restoration) next week. But, with no rest for the wicked after he left mid-afternoon with ambient conditions (open hatch on rainy day!) not being conducive to the epoxying we’d hoped to start together, I also got the freshly-exposed areas stripped clean, need to get the dehumifier and strip heater back on board so we’re better set for next week, and hope to spend the intervening last few days of my summer ‘holiday’ in the forecabin!

5 August 2017

Not well in the bow well

Filed under: Sailing — admin @ 7:33 pm

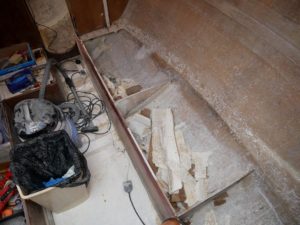
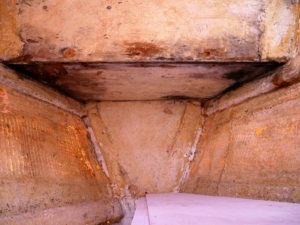
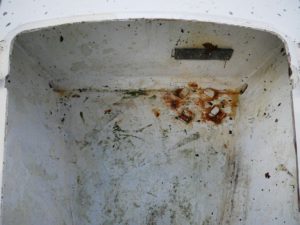
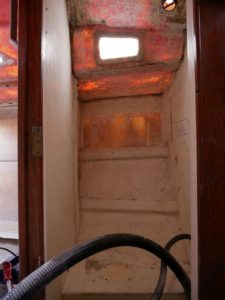
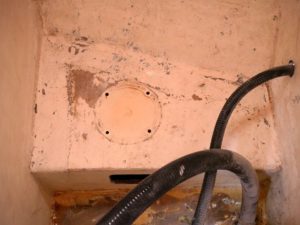
So I spoke too soon when I said on Wednesday ‘who knows where I’m going to find another 100 hours to strip back the forecabin, but at least that’s not holding up any comparable repair work.’ Because yesterday I set about stripping the remaining old linings from heads and forecabin so I could get going on the glue and paint beneath, and was actually quite enjoying that till the unwelcome discovery of rot in the floor and aft wall of the bow well, which are plywood and going to need a similar repair to the main bunk tops.

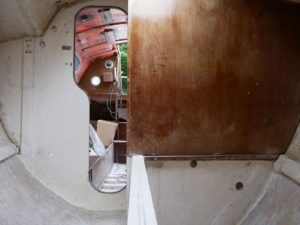
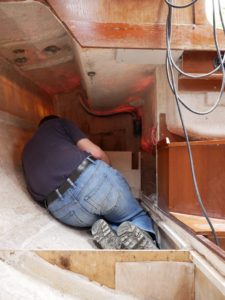
How this has happened when the plywood’s glassed on the outside and appears to have rotted from the inside, I’m not sure, but I think the half-removed liner’s maybe got wet from a captive wet atmosphere the second time the inside of the boat got very wet and trapped moisture just where you don’t want it but can’t see it. Something I really didn’t expect (I didn’t even know that floor was wood), so another blow just when things were really starting to get sorted. Ultimately just another required repair, but awkward and probably weather dependent, so could change the order things need doing as well as threatening the current satisfying transition from destruction to construction. The good news, I suppose, is there’s literally nowhere else for any more unsuspected horrors to be lurking with every square inch of this boat interior now exposed and inspected. And, in case anyone’s wondering about the exterior fittings in the second photo, the four little blocks with rust stains are where the gas bottle used to sit and the piece of lead (yes, lead!) attached above is the compensatory weight required by Impala one-design rules because I took out the gas in 2003 and fitted a meths cooker instead.

Anyway, that was yesterday’s work and that’s not 100 hours, but today I started on the actual glue and paint. Which hopefully isn’t going to take another 100 hours because I might not go for literally all of the paint this time, though I still want to get the forecabin stripped right back and flow-coated where there’ll be no lining below bunk and lower stringer level. And it might still take a long time because the ‘overhead’ glue (from a fair area of glued-on, under-deck lining where the main cabin has only screw-on panels) is proving more problematic than the ‘topsides’ glue, which seems easier to remove from a different type of paint where drill with nylon brush seems keener to redistribute a tacky mix of overhead glue and paint dust and the glue might be better scraped first. And the irony is I don’t even have to get that under-deck paint off if I can get the glue off it clean…

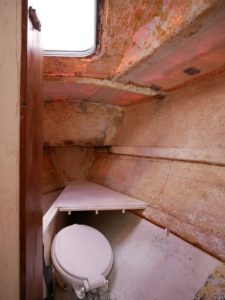
So why is the sea toilet reclining in the forecabin? Because I unbolted it from its base in the heads compartment to clean and check the integrity of said (wood) base as well as make room to work, but thought it safer to leave the hoses connected for now just in case!

And I think that’s all I meant to say tonight.

3 August 2017

Stripping slime

Filed under: Sailing — admin @ 2:20 pm

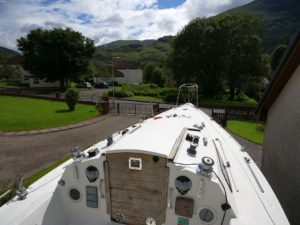
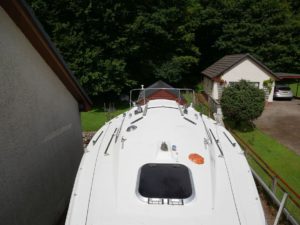
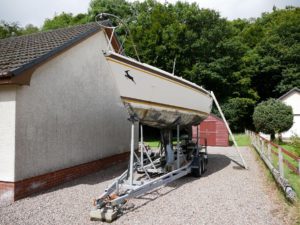
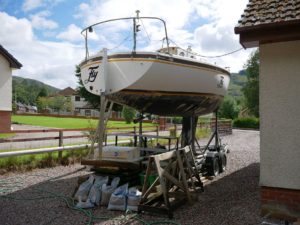
Yesterday, as well as ‘finishing’ the paint stripping job in Fly’s main cabin, I took the pressure washer to her decks and topsides… not for a really thorough clean when she keeps getting filthy sitting there long-term (already been cleaned several times during this lay-up period!) and the time for proper cleaning and (where appropriate) polishing is after the winter, but still looking and feeling much the better for it (compare 2015/16’s window aperture and window fitting photos).

Might also point out the cable crossing from house to boat in the second and last photos; I had an IP66 double socket put in up there when I was getting the sheds wired up, so safe ‘permanent’ power when Fly’s there and simply unplug when she’s not!

2 August 2017

Stripping paint

Filed under: Sailing — admin @ 8:18 pm

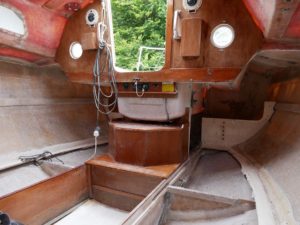
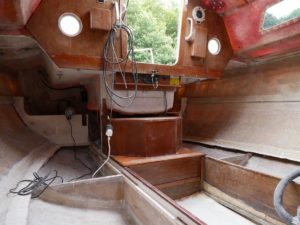
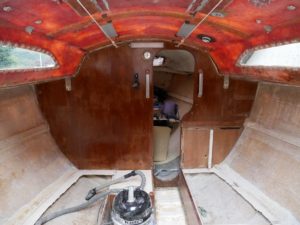
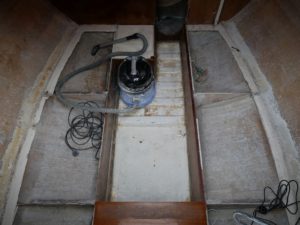
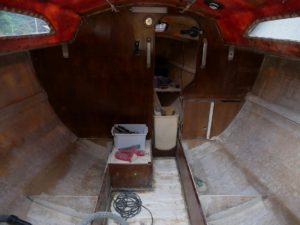
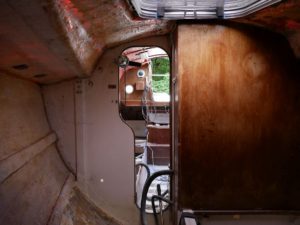
Fly’s plywood main bunk tops were always problematic, and I know I’ve repaired the port one at least four times because I sent an email (subject line ‘Deja vu’) with photos to Twig Olsen and my dad in June 2003 saying ‘This is the fourth time I’ve tried to patch up this bunk top and I swear it’s the last!’ So, despite the discovery of the major water damage that finally finished them off in 2009 being initially devastating, something was going to need doing sometime anyway when they’re part of the boat’s structure. So we gutted the main cabin in 2011 to get at them properly and cut most of them out leaving just a web along the hull sides to remove at the time of replacement, but still wanted to take this once-in-the-boat’s-life opportunity to strip the flaking, and quite unnecessary, white paint from below them and flow-coat the hull surfaces (as done to the bilge when we installed the inboard) instead. But then a further setback as a second major water incident hit my sleeping (neglected!) boat while the windows were still out but supposedly covered, with a bad cockpit leak also contributing to further damage that nearly did for the little under-bunk dividing bulkheads as well (the two aft ones are significantly delaminated but fortunately still repairable).

Now the boat’s been properly dry since Twig fitted the new windows and I fixed the cockpit leak last year, and serious repair work should have started but for my June 2016 shed fire completely changing the course of my summer, indirectly leading to its replacement by not one but two sheds, with the larger one fitted out as a workshop and many, many hours spent digging trenches for power cables, building serious shelves and workbenches etc. So here we are at 2017, a year late (well, many years late, but a year later than my final serious intention to get the job done took hold!), with approximately 100 hours of solo summer paint stripping done over the past three weeks to bring things to the stage where Twig can come and start fixing things after West Highland Week. So why so long? Because that’s what it takes! When we did the bilge, we scraped most of it, but that’s not easy with all the dimples in the woven mat. So we tested some GRP-safe paint stripper (Interstrip) when Twig was here three Fridays ago, but that’s not easy either when it takes several applications to do the job and, not being able to pressure-wash it off inside the boat, sometimes seems 90% an exercise in redistributing half-softened paint! So I’ve finally gone with electric drills and (mainly nylon) brushes for all but the most awkward corners (acute angles), which gets the job done but is still tortuously slow when careless continued contact could easily take more than paint, and have now learned much about which brushes to use where (and at what rotation speeds) to strip the paint while preserving both boat permanently and brushes as long as possible. And, yes, there’s an art to that last when mishandled nylon brushes can get reshaped, fused or worn out post-haste…
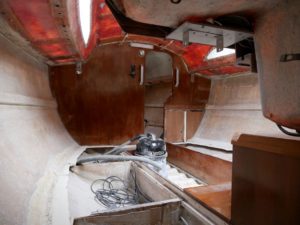
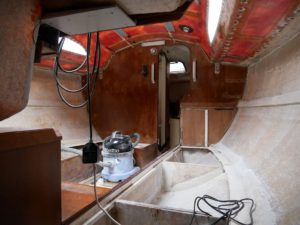
So why strip all the way to the deckhead as well as below the bunks when these surfaces are going to be covered by new lining material? Because the liner needs to stick, there was old glue on old paint and, if a thing’s worth doing…

On which note, who knows where I’m going to find another 100 hours to strip back the forecabin, but at least that’s not holding up any comparable repair work. Though I did find something else yesterday that needs attention, which is a bad patch in the starboard main-cabin-to-cockpit bulkhead. Why it’s gone off I don’t know when it’s not in the area where collecting water ran riot elsewhere, and of course it’s another wee blow but, after an awful moment when my most delicate cup brush just dug into the plywood like a knife into butter and I thought ‘hell, the bulkhead’s rotten!’, I was quickly able to reevaluate it as localised, not full-thickness, damage that should be quite simple to fix.
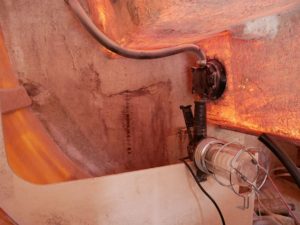
Oh, and I took the pressure washer to the outside of the boat this morning, meaning 1. she’s looking a bit more loved again and 2. you can stand on the decks without that slimy ‘ice rink’ feeling. And I want to go sailing, but that’s still an autumn, winter and spring of hard work away! :-)

Blog powered by WordPress. Feedback to webmaster@petestack.com.