A slightly artsy title here (both punning and recalling instructions to racing crew), as well as not completely true when nothing like all the trim’s on yet, but perhaps marginally better than ‘More Tricky Stuff’, which was all I could otherwise think of…
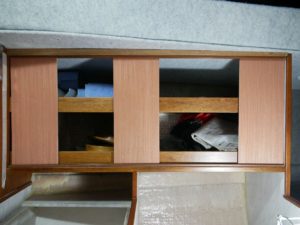
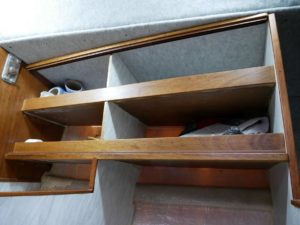
Finishing things properly takes time! Most of what I’ve been doing here (and continue to do) requires as much thought as doing, with the consequences of mistakes potentially spoiling things rather than icing the cake. Take the tracks for the galley doors, for example; I’d glued the bottom track to line up with the shelf edge trim, then took it off and pushed it back to the fiddle before taking it off again for a complete dry fit with top/bottom tracks and plywood props in lieu of doors that finally told me where it needed to go:
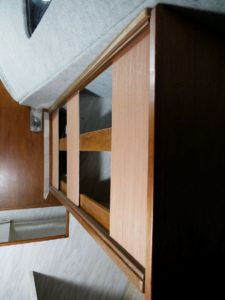
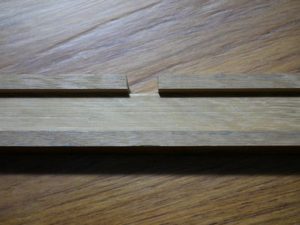
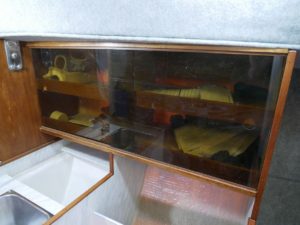
So my third and final attempt to fix the bottom track set it against the fiddle at the aft (right) end but spaced to a constant distance from the shelf edge (not quite parallel with the fiddle) using a piece of 4mm ply as a kind of feeler gauge to replicate the dry fit:
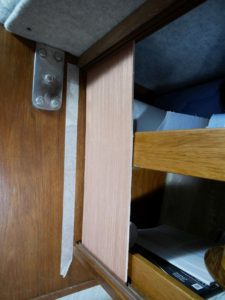
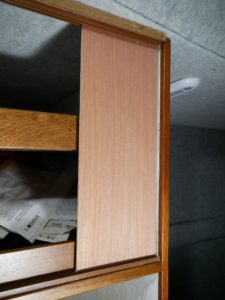
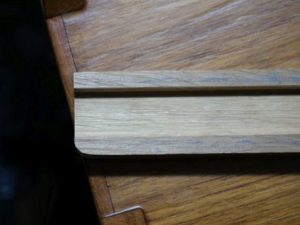
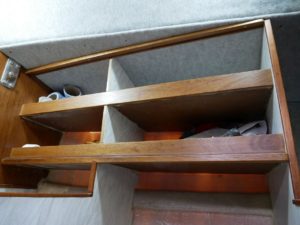
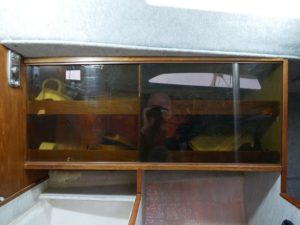
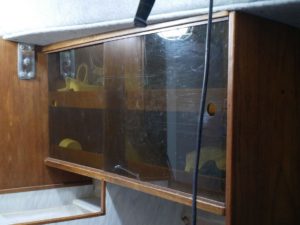
And this was what I wanted despite leaving a wedge-shaped sliver of space between track and fiddle that I’d like to fill with something. But I still had to get my (now finished and varnished) shaped wood strip on right and trim the galley doors to fit, so two more fiddly and quite nerve-wracking procedures to replicate what’s easy to mock up with no screws, glue or irreversible cutting. And I’m happy with the result although still considering a couple of things (probably some quality double-sided tape to fix the top track which is currently just a snug push fit in its mounting strip, and maybe trimming the edge of the left-hand door where the main bulkhead’s not quite square, but not rushing into that when it would be so easy to spoil it and I can also think of reasons not to do it!):
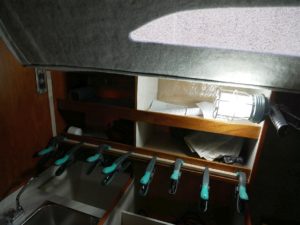
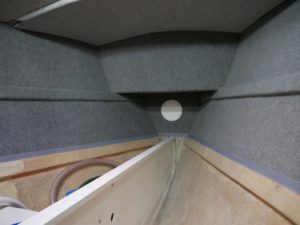
I’d been planning since we lined the forecabin to trim the exposed, difficult-to-finish-neatly, bottom edges of carpet with webbing tape, but couldn’t be sure how that would go till I tried. And the answer is OK, but it takes time and eats Evo-Stik! Which isn’t that easy to spread economically on narrow porous surfaces you want to cover but not overrun (the spray glue used for most of the linings goes far further but is less practical here as well as less good for really firm edging), with my 250ml tin virtually disappearing between gluing down some obvious loose edges and fixing my tape, but I’m both relieved and pleased with a job well done and have another two 500ml tins on the way assuming that’s more than enough for everything I’ve still to do:
Might add that I’ve also been busy with other ‘little’ things you don’t see here, but have neither photos to show nor motivation to explain everything; there are other small wood parts taking shape and/or being varnished, screws on order where I don’t have quite all the ones I need to fix them all and, well, just more than enough going on to keep my head spinning and dominate my ‘free’ time! ;-)


